Imagine this: golden-brown, impossibly crispy chicken wings, tender on the inside, with a glaze that shatters just so with every bite. No greasy mess, no hovering over a hot fryer. This is the promise of true Air Fryer Mastery. For years, I’ve perfected techniques that transform humble ingredients into restaurant-quality marvels right in your kitchen. This isn’t just about cooking; it’s about elevating your weeknight meals and impressing your guests with minimal fuss. We’re talking about achieving that perfect crunch, that deep flavor, that sheer joy of a perfectly executed dish, all thanks to the magic of your air fryer.

| Prep Time | 15 minutes |
| Cook Time | 20-25 minutes |
| Total Time | 35-40 minutes |
| Servings/Yield | 4 servings |
| Estimated Calories | 450 per serving (approximate, depends on glaze) |
Why You’ll Love This Air Fryer Mastery Recipe
- Unbeatable Crispy Texture: Forget soggy bottoms. This method guarantees that addictive crunch every single time.
- Minimal Oil, Maximum Flavor: Enjoy your favorite fried foods with significantly less fat, without sacrificing taste.
- Fast & Efficient: Perfect for busy weeknights when you want something delicious without the long wait.
- Foolproof Results: My step-by-step guidance ensures even beginners can achieve stellar outcomes.
Ingredients & Notes for Air Fryer Mastery
Selecting the right ingredients is crucial for achieving that perfect texture and taste. It’s not just about throwing things in; it’s about understanding how they interact with the hot air.
- 2 lbs Chicken Wings: Fresh, never frozen, is best. Pat them thoroughly dry. Moisture is the enemy of crispiness!
- 1 tablespoon Baking Powder (Aluminum-Free): This is the secret weapon for ultra-crispy skin. It helps draw out moisture and creates tiny bubbles. Don’t skip it!
- 1 teaspoon Kosher Salt: Enhances flavor and helps draw out moisture.
- ½ teaspoon Black Pepper: Freshly ground offers a brighter punch.
- Your Favorite Sauce or Glaze: Think buffalo, BBQ, honey garlic, or even a lemon-pepper dry rub. Have this ready for the final step.
- Optional: 1 teaspoon Garlic Powder, ½ teaspoon Onion Powder for an extra flavor boost in the dry rub.
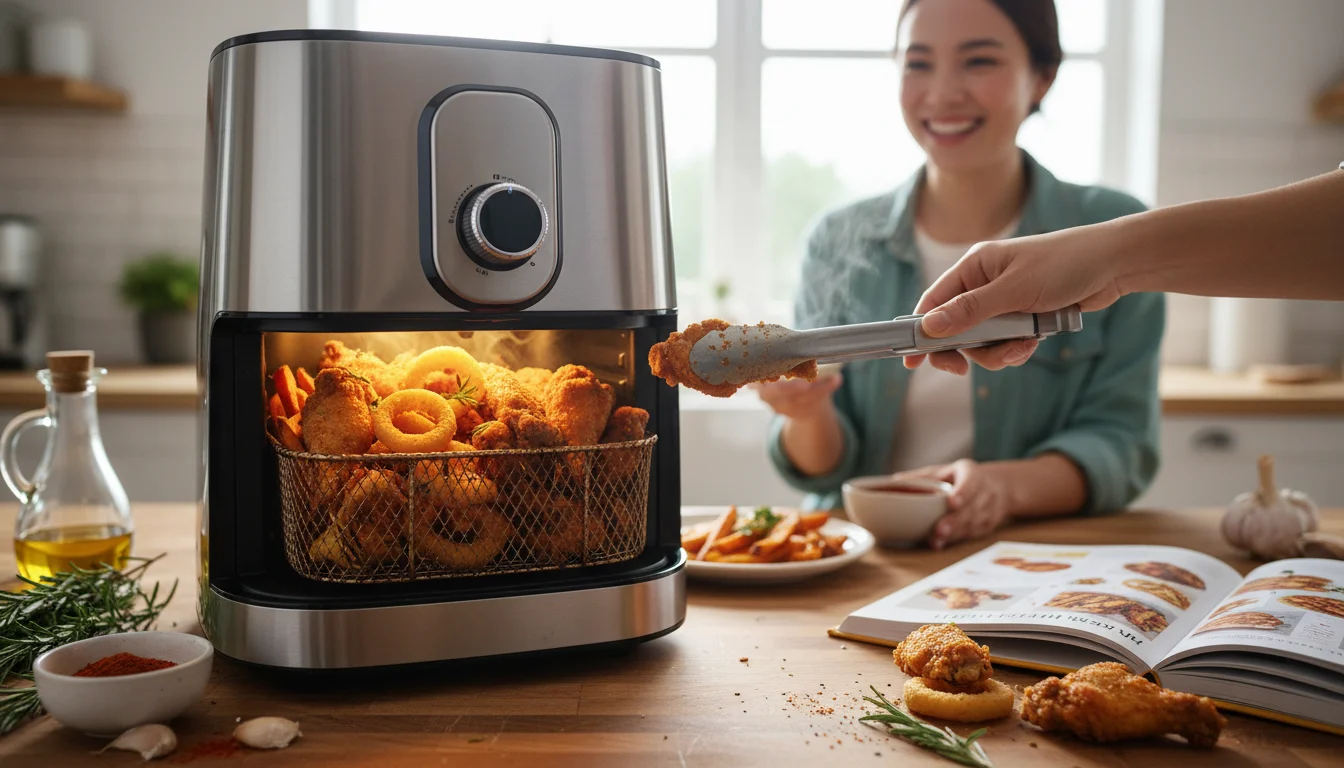
Air Fryer Mastery 1
Step-by-Step Instructions for Air Fryer Mastery
Phase 1: Preparing the Wings
- Begin by thoroughly rinsing your chicken wings under cold water. This removes any residual blood or bits.
- Place the wings on a clean kitchen towel or paper towels. Pat them completely dry. This step is NON-NEGOTIABLE for achieving crispiness. Let them air dry for another 5-10 minutes if you have time; it makes a difference.
- In a large bowl, combine the dried chicken wings with the baking powder, kosher salt, and black pepper. If using, add the garlic and onion powders now.
- Toss everything together until each wing is evenly coated. You want a light dusting of the seasoning mixture.
Phase 2: Air Frying for Crispy Perfection
- Preheat your air fryer to 400°F (200°C). Allowing it to reach temperature ensures the cooking process starts immediately and evenly.
- Arrange the seasoned chicken wings in a single layer in the air fryer basket. Do not overcrowd the basket. You might need to cook in batches. Overcrowding leads to steaming, not crisping.
- Air fry for 12 minutes.
- Flip the wings using tongs.
- Continue air frying for another 10-13 minutes, or until the wings are golden brown and crispy. The exact time will depend on your air fryer model and the size of the wings. Check for doneness by piercing the thickest part; juices should run clear.
Phase 3: Glazing for Maximum Impact
- While the wings are in their final minutes of cooking, gently warm your chosen sauce or glaze in a small saucepan or microwave-safe bowl.
- Once the wings are cooked to your liking, carefully transfer them to a clean, dry bowl.
- Pour your warm sauce over the crispy wings.
- Toss gently until each wing is beautifully coated.
- Serve immediately. The warmth of the wings will help the glaze adhere perfectly.
Air Fryer Mastery 2
Chef’s Tips for Air Fryer Mastery
Don’t underestimate the power of a dry wing. Seriously, pat them like your culinary reputation depends on it. Moisture is the sworn enemy of crispiness. Also, resist the urge to peek too often; each time you open the basket, you lose precious hot air, extending your cooking time and potentially compromising the crisp.
Variations & Substitutions
This Air Fryer Mastery technique is incredibly versatile.
- For a Spicy Kick: Add a pinch of cayenne pepper to your dry rub, or toss with a spicy sriracha or hot honey glaze.
- Vegan Option: Try this method with extra-firm tofu cubes (pressed and dried thoroughly) or cauliflower florets. Adjust cooking time as needed.
- Gluten-Free: Ensure your chosen glaze is certified gluten-free. Most dry rubs are naturally GF.
- Different Proteins: This works beautifully for chicken tenders, boneless wings, or even shrimp. Adjust cook times accordingly.
Storage & Reheating
Leftover crispy wings are a rare but welcome occurrence.
- Storage: Store cooled, uncooked wings or glazed wings in an airtight container in the refrigerator for up to 3 days. Un-glazed wings will retain their crispiness better.
- Reheating: To regain crispiness, reheat in the air fryer at 350°F (175°C) for 5-8 minutes, or until heated through and re-crisped. Microwaving will make them soft again.
FAQ on Air Fryer Mastery
Q: Why aren’t my air fryer wings crispy?
This is usually due to one of two things: not drying the wings thoroughly enough, or overcrowding the air fryer basket. Ensure each wing has space and is bone-dry before seasoning.
Q: Can I use regular flour instead of baking powder?
While flour can help with browning, baking powder is superior for achieving that distinct, airy crispiness. It chemically reacts to create bubbles and draws out moisture more effectively.
Q: How do I know when the wings are cooked through?
The safest method is to use a meat thermometer inserted into the thickest part of the wing, avoiding bone. It should register 165°F (74°C). Visually, they should be golden brown and firm to the touch, with clear juices.