
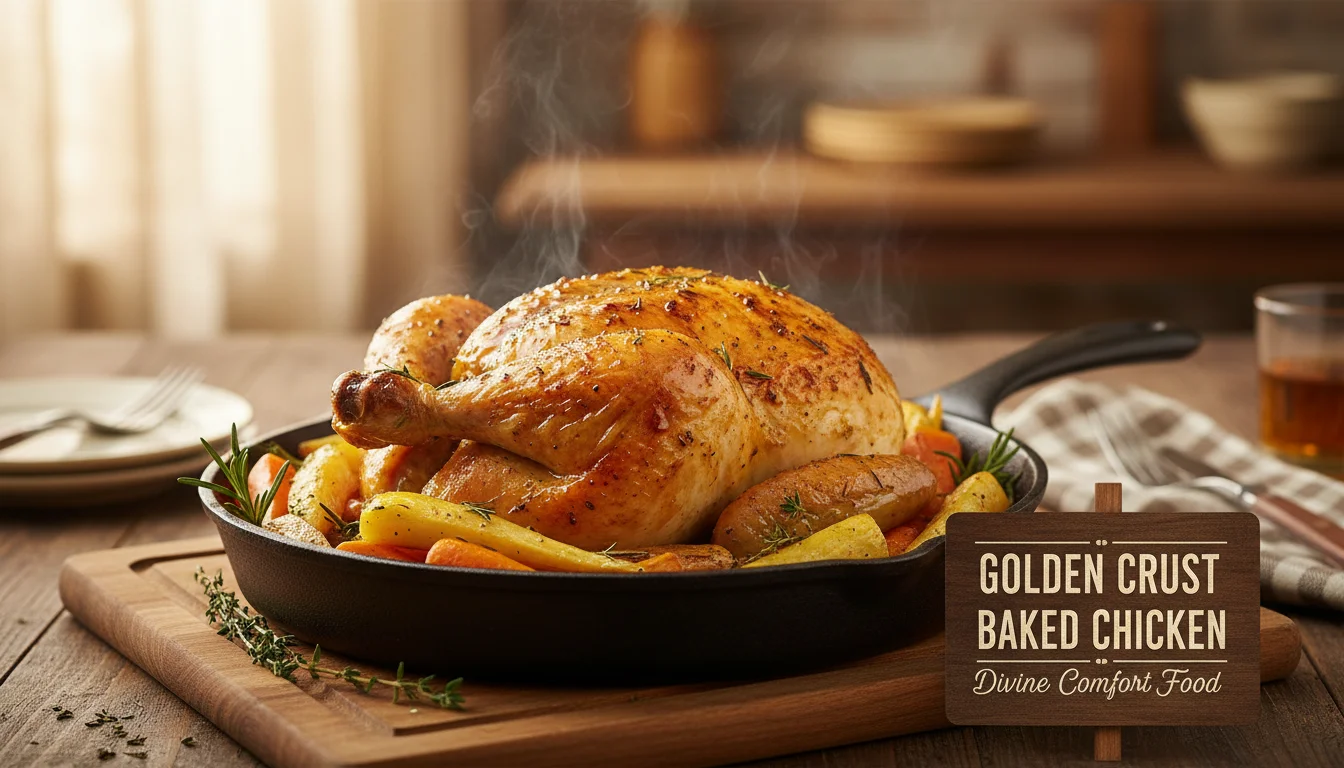
Golden Crust Chicken.
Golden Crust Baked Chicken: Divine Comfort Food
Imagine this: a chicken dish so perfectly roasted, its skin is a crisp, golden marvel, crackling with every bite. The meat beneath? Incredibly juicy, infused with savory herbs and a hint of garlic. This isn’t just dinner; it’s pure comfort, elevated. For years, I’ve chased that elusive perfect roast chicken, and honestly, it’s simpler than you think. My grandmother’s secret wasn’t a fancy marinade, but a technique that guarantees that irresistible golden crust every single time.
| Prep Time | 15 minutes |
| Cook Time | 45-60 minutes |
| Total Time | 1 hour – 1 hour 15 minutes |
| Servings | 4-6 |
| Estimated Calories | 450-550 per serving |
Why You’ll Love This Golden Crust Chicken
- Achieves a shatteringly crisp skin without frying.
- Juicy, tender meat infused with simple, classic flavors.
- A one-pan wonder, minimizing cleanup.
- Perfect for weeknights or special occasions.
Ingredients for Your Golden Crust Chicken
The magic of this Golden Crust Chicken lies in its simplicity. High-quality ingredients shine here, so pick the best you can find.
- Whole Chicken (3-4 lbs): A good quality, free-range bird makes a noticeable difference in flavor and texture.
- Unsalted Butter (4 tablespoons, softened): This is crucial for that golden hue and crispiness. Make sure it’s not cold, but softened.
- Fresh Rosemary (2 sprigs): Its piney aroma is classic with chicken. Finely chopped.
- Fresh Thyme (2 sprigs): Earthy and fragrant, thyme complements rosemary beautifully. Finely chopped.
- Garlic (3 cloves): Minced. The pungent aroma is essential.
- Lemon (1, halved): One half for the cavity, the other for squeezing over at the end.
- Salt (Kosher or Sea Salt): Generously. Salt is your best friend for flavor and a crisp skin.
- Black Pepper (Freshly Ground): To taste. Adds a little bite.
- Optional: Paprika (1 teaspoon): A tiny bit adds color and a subtle smoky note.
Golden Crust Chicken 1
Step-by-Step Instructions to Golden Perfection
Prep Work is Key
- Preheat your oven to 425°F (220°C). This high heat is essential for crisping the skin quickly.
- Remove the chicken from its packaging. Take out any giblets from the cavity.
- Pat the entire chicken, inside and out, completely dry with paper towels. This is NON-NEGOTIABLE for crispy skin. Seriously, get it bone dry.
- In a small bowl, combine the softened butter, chopped rosemary, chopped thyme, minced garlic, salt, pepper, and paprika (if using). Mix until it’s a cohesive paste.
- Gently loosen the skin over the chicken breasts and thighs by carefully sliding your fingers between the skin and the meat. Be careful not to tear the skin.
- Rub about two-thirds of the herb butter mixture under the skin, directly onto the breast and thigh meat. This gets flavor right into the meat.
- Rub the remaining butter mixture all over the outside of the chicken. Ensure an even coating.
- Season the cavity generously with salt and pepper.
- Stuff the cavity with the halved lemon.
- Truss the chicken. This helps it cook evenly and keeps the shape nice. You can use kitchen twine or just tuck the wing tips under.
Roasting the Divine Chicken
- Place the prepared chicken in a roasting pan or a sturdy oven-safe skillet.
- Roast for **20 minutes** at 425°F (220°C). This initial blast of heat starts the crisping process.
- Reduce the oven temperature to 375°F (190°C).
- Continue roasting for another **30-40 minutes**, or until a meat thermometer inserted into the thickest part of the thigh (without touching bone) registers 165°F (74°C). Baste the chicken with pan juices once or twice during this period.
- If the skin starts to brown too quickly, you can loosely tent the chicken with aluminum foil.
Golden Crust Chicken 2
Resting: The Final Crucial Step
- Once cooked, remove the chicken from the oven.
- Tent it loosely with foil and let it rest for at least **15 minutes** before carving. This allows the juices to redistribute, ensuring incredibly moist meat. Don’t skip this!
- Squeeze the remaining lemon half over the rested chicken just before serving.
The single most important step for a crispy skin is ensuring your chicken is bone dry before you apply the butter. Moisture is the enemy of crispiness. Use paper towels liberally!
Chef’s Tips for Success
Achieving that perfect Golden Crust Chicken isn’t about complicated techniques. It’s about paying attention to the details.
- Butter Consistency: Softened butter is key. Too cold, and it won’t spread well. Too melted, and it will just run off.
- Don’t Crowd the Pan: If you’re roasting vegetables alongside, make sure they aren’t touching the chicken too much. This allows air to circulate and crisp the skin.
- Temperature Matters: Always use a meat thermometer. It takes the guesswork out of poultry. Overcooked chicken is dry chicken, plain and simple.
- Herb Power: Fresh herbs are superior here. Dried herbs can be used, but use about a third of the amount and mix them into the butter well.
Variations & Substitutions
This base recipe is fantastic, but it’s also a great canvas for your own culinary creativity.
- Spicy Kick: Add a pinch of cayenne pepper or red pepper flakes to the butter mixture.
- Citrus Twist: Instead of lemon, try a halved orange or lime in the cavity for a different flavor profile.
- Garlic Lover’s Dream: Roast whole garlic cloves alongside the chicken, then mash them into the butter mixture or serve them with the carved chicken.
- Herb Swap: Experiment with sage, marjoram, or even a touch of fresh dill in your butter.
Golden Crust Chicken 3
Storage & Reheating
Leftover Golden Crust Chicken is a treasure. Store it properly to enjoy its deliciousness later.
- Storage: Cool any leftovers completely. Store in an airtight container in the refrigerator for up to 3-4 days.
- Reheating: For the best results, reheat in a 350°F (175°C) oven until warmed through. This helps retain some of the crispiness. You can also reheat gently in a skillet over medium-low heat, or even in the microwave, though the skin won’t be as crisp.
Frequently Asked Questions
Q: How do I get my chicken skin extra crispy?
Ensuring the chicken is completely dry, using softened butter generously, and starting with a high oven temperature are your best allies for achieving that coveted crispiness.
Q: Can I add vegetables to the roasting pan?
Absolutely! Root vegetables like potatoes, carrots, and onions are wonderful roasted alongside the chicken. Toss them with a little olive oil, salt, and pepper, and add them to the pan about 30-40 minutes before the chicken is done.
Q: My chicken is cooked, but the skin isn’t golden enough. What did I do wrong?
This usually comes down to moisture or temperature. Make sure the chicken was thoroughly dried. If it’s still pale, you can increase the oven temperature for the last 10-15 minutes, keeping a close eye on it to prevent burning, or even pop it under the broiler for a minute or two, again, watching it constantly.